Showing posts with label nail sponging. Show all posts

4.4.12

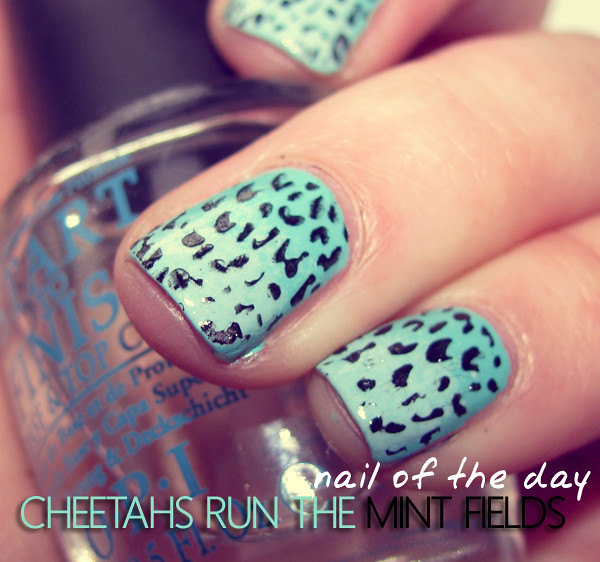
Cheetahs Run The Mint Fields: A nail polish design

header

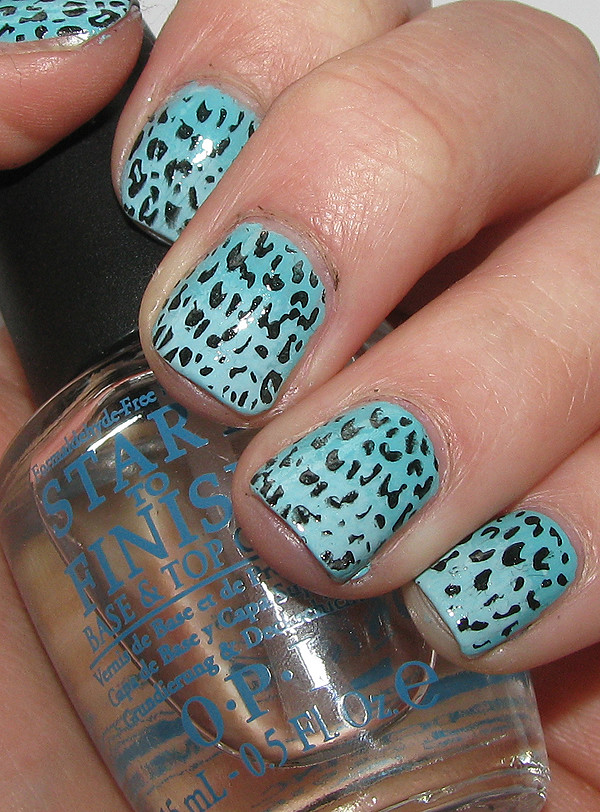
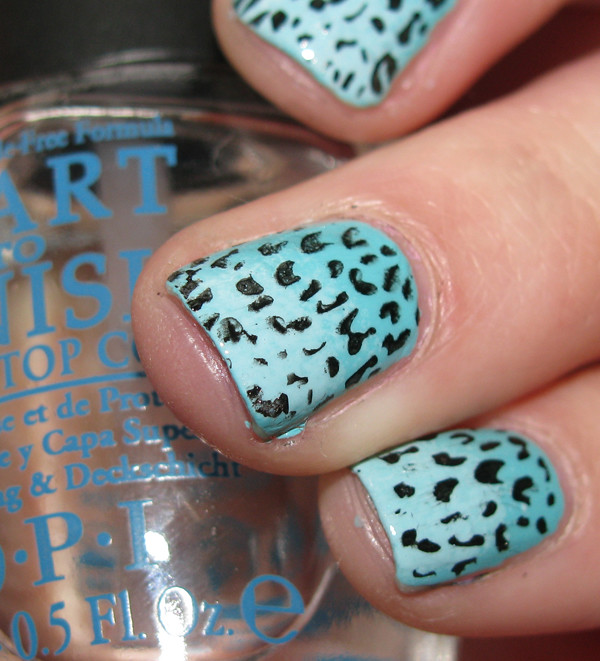
I promise the next post will be on something different than nail polish. I just really missed doing them the last two weeks. So today, a gradient and cheetah print stamping. I personally enjoy this manicure very much. The gradient is not that apparent, but it's there. I'm still quite new to the gradient sponging thing. But who doesn't enjoy a nice subtle ombre?

fullnails

closeup

Polishes used

H&M bella's choice
Catrice Am I Blue Or Green?
Essence stampy polish Stamp me! Black (matte)
OPI Start to Finish base and top coat

1.4.12

Galaxy Nails: NOTD + STEP BY STEP TUTORIAL

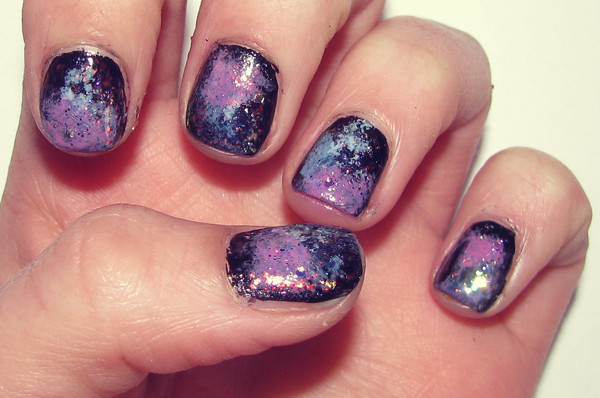
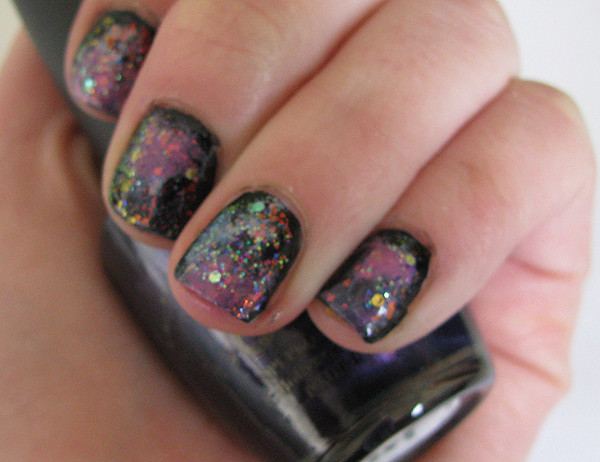
galaxynails

Galaxies. I love them, they hold a certain mystery and magic that makes me want to know everything about them. But that is impossible, so I painted them on my nails. And yes, my nails are back, strong and healthier than ever. I want them to be straight, so that's why they are filed a little wonky now. But in time, my nails will be gorgeous.

At the bottom of this post there is a step by step tutorial on how to achieve this super simple yet amazing look. This was even my first attempt ever at galaxy nails! All you need is a bunch of colors/effects and a cosmetic sponge and you're good to go!

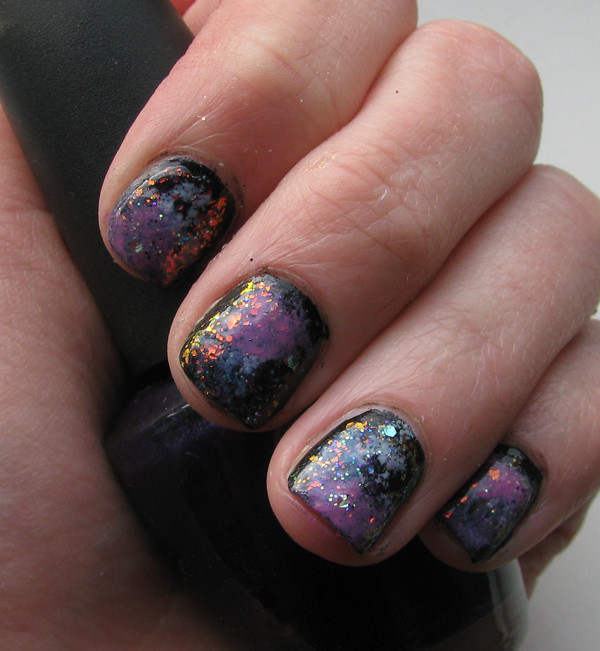
closeup1
A close up shot of the nail design

outoffocusflakieglitter
An incredibly out of focus shot to show the effect the flakie top coat gives to this design

tutorial

The products I used are in brackets behind the instruction
1. Paint your nails an opaque black color (GOSH 'Nero')
2. Take a cosmetic sponge, or a piece of it, and a navy nail polish and sponge on some random areas (OPI 'Russian Navy')
3. Take a light blue color and a clean piece of sponge and sponge that in some areas, blending it in with the navy color (Essence 'Absolutely Blue')
4. Do the same with a white color and a light pink (Catrice 'Snow Motion!' & OPI 'Shorts' Story)
5. Apply a flaky top coat over the design to give it more dimension and a 'star' like effect. (Essence 'Night in Vegas')
6. Lastly, apply a few pieces of round glitter polish with a sponge to give it even more dimension. (Paris Memories '253')

I hope this is helpful. And if you decide to do this tutorial, please send me a picture any way you can. Email me secondhandspring@hotmail.com or tweet me your result @kellynoelle_ I'm looking forward to seeing some results!

24.2.12

Meet Marilyn and Me At Coral Island

meetmarilyn`

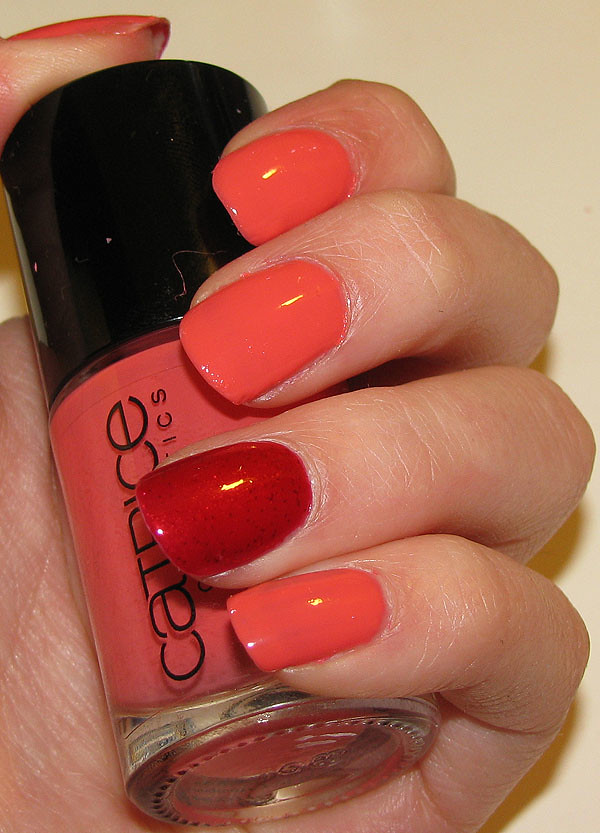
I am becoming a great fan of the 'accent nail', especially since I hardly wear any jewelry on my hands. And this combination seemed rather nice to me. The gorgeous coral polish is from Catrice and it is called 'Meet Me At Coral Island', I love the creamy-ness of it. Gorgeous on most skintones. The red polish infused with tiny red particles of glitter is called 'Marilyn & Me', also from Catrice.

I bought 'Marilyn & Me' originally for Valentine's Day, but at the time I was still sporting the single glitter nail, and I didn't want to go through the hassle of removing all that glitter. And wearing the two different types of glitter nails would just be too much. I ended up pairing the silver glitter nail with an ANNY nail polish in 'True Love', seems fitting for the occasion. right?

But now seems like the perfect time to wear it in combination with this coral. I think I am really pleased with this look.


Photobucket

I do fear that the viking is right. I really do spend too much time on my nails.